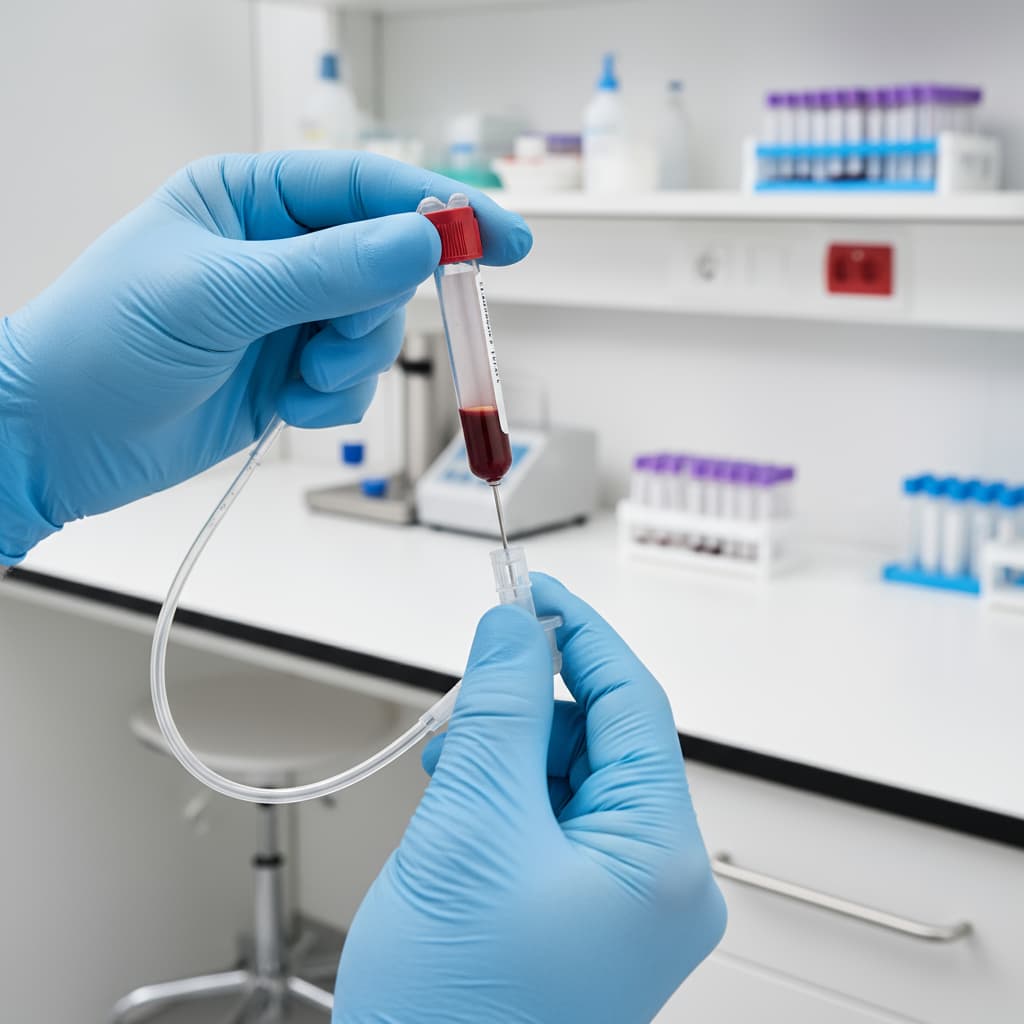
If you’re interested in a career in healthcare that doesn’t require years of schooling, phlebotomy is an excellent choice. It’s a quick and practical path to a stable job. However, there are a few essential steps you must take to get started.
Here is your roadmap to becoming a certified phlebotomist:
High School Diploma or GED: This is the basic educational requirement. You can’t enroll in a training program without it.
Complete a Phlebotomy Training Program: This is where you’ll get your hands-on training. These programs are offered at vocational schools, community colleges, and online institutions. They can last from a few weeks to several months and cover topics like anatomy, venipuncture techniques, and safety protocols.
Complete Hands-On Practice: Most programs require you to perform a certain number of successful venipunctures (e.g., 30 to 100 sticks) on live patients before you can graduate and take your certification exam. This hands-on experience is non-negotiable.
Pass a Certification Exam: While some states don’t require it, most employers will only hire a certified phlebotomist. The most widely recognized certifications are from the National Phlebotomy Association (NPA), the American Society for Clinical Pathology (ASCP), and the National Healthcareer Association (NHA).
Maintain Your Certification: Certifications usually need to be renewed every 1-2 years by completing continuing education credits. This ensures you stay up-to-date on the latest techniques and safety standards.
Following these steps will provide you with the credentials and confidence you need to land your first phlebotomy job.
Best tip from my clinicals: close your eyes and palpate for that springy bounce, then anchor like you mean it — my miss rate nosedived once I stopped relying on sight. Do you practice with butterflies first or go straight needles?
My go-to before any tricky draw is a 60–90 sec warm compress on the site — veins pop and the palpation gets way easier; my first-stick rate went up fast. Ever try that?
I scheduled my certification exam the same week I wrapped clinicals — paid about $130 and felt way less rusty with the order of draw still fresh. If you’re taking the quick route after your HS diploma/GED, don’t wait weeks to test because, ugh, those little details fade fast.
Learned this the hard way: I always “label at bedside” right after mixing, and it saved me from a near mix-up; if your site prints labels at the desk, carry the tubes in a rack and head straight there — no detours.
After finishing the ‘High School Diploma or GED’ piece, I clipped a pocket order-of-draw card to my badge and logged every stick (gauge, site, outcome) during clinicals — it made the certification practicals feel automatic. Small caveat: if your clinic restricts butterflies, practice straight needles early so you don’t get dependent.
Your ‘quick path’ is real, but budget time for immunization titers, a TB test, and BLS — it’s what delayed my clinical start by a week. The most practical tip from my program: practice anchoring with your non-dominant hand on a training arm until you can hit at a consistent 15–30 degrees; , that muscle memory saves you on day one. If your site caps tourniquet time, set a 60-second watch timer so you don’t get dinged during check-offs.
Piggybacking on @lmitchell, I pre-stage my supplies — fold two gauze and make a tape tab before the stick — so I can release, pull, and secure in one motion; it cuts bruising and fumbles, and if they start pumping I have them hold a gentle fist instead.
I shaved off a lot of redraws by releasing the tourniquet as soon as I saw steady flow into the first tube — it cuts hemolysis and bruising and keeps patients calmer, @OP. Small caveat: tell them “loose fist, no pumping” to avoid funky potassiums.